Welcome back fellows 👋🏻
Today I am back with a new article on Go, but this is slightly in production side. Today we are going to deploy a simple containerized Go web app on Heroku. I am assuming, you are well aware about how web servers are created in Go and how they work. That means, now you have created your own web server which can serve us a website locally, but you want to make it available for public with a target url right. How do you do that ? The answer is been coveyed in this blog. So start reading and following the learn more links to get to the topics that are neccessary for our deployment process.

What we will be doing today ? 🧐
- Write a
Dockerfile - Write a
heroku.yml - Deploy our app on Heroku.
Prerequisite ✅
Let us not waste time ⏳
If you don't know much about Docker then you should learn about it now and for today's tutorial you can just install docker and play it with a little. I have suggested a video for a brief understanding about Docker, check that out definitely. Now, I am supposing you are aware of Docker and have basic knowledge of it. Because we are writing a Dockerfile and if you don't even know what Docker is, then it's not possible.
I can give you a brief introduction of Docker. It is like a virtual machine manager, that takes hardware resource from your machine and creates one or more hidden boxes inside your computer with those resources and provide a operating system in each of those boxes, this boxes are running containers, and this containers are created in docker from docker images. The goal of Docker is to make multiple isolated virtual machines in your computer.
Learn basics of Docker before proceeding. Learn More
Here is my project structure ⛩
├── main.go
├── go.mod
├── go.sum
├── Dockerfile [yet to write]
├── heroku.yml [yet to write]
└── static
    └── index.html
Visit my Github repo of this project to get the idea, How I build a web server and used HTML with it.
We can go forward now ⛳
We will start by writing Dockerfile and end with installing Heroku CLI to deploy our app effortlessly. This will be knowledge journey and I hope after this, you will understand the deployment process of Go web applications.
- Write
Dockerfile
A Dockerfile is a declarative way of automatically creating a docker image, and we will create a alpine linux container where the app will run at a specific port. ️
Create a file with this name and follow my code below,
# Using this minimal base image for our work.
# It will consist of golang tool and nothing much more.
FROM golang:1.19-alpine

# Setting our current directory to /app inside our base image.
WORKDIR /app

# Copying everything from our Web-Server directory to our image's /app directory.
COPY . .

# Now all are necessary files are in our image.
# So we can start our commands to run the go app.
RUN go mod download
RUN go build main.go

# We have now a executable, named main.
# First let us expose our docker container.
# EXPOSE 8080
# We hosting our app on heroku, and heroku provides a particular port
# for us via enironment variables. And so here docker, we don't need to
# our container, heroku takes care of it.


# Run the executable.
CMD ./main
Now with a simple command
docker build -t webapp .you will get your fully functional docker image.
- Write
heroku.yml
This file is nothing but a declarative way of saying Heroku that here is how you build and how you run the app. This file is necessary for deploying a containerized app in Heroku automatically. This file is a manifest that defines our app and allows us to specify add-ons and config vars to use during app provisioning by Heroku.
build:
  docker:
   web:
    Dockerfile

run:
  web:
   ./main
- Getting started with Heroku
Heroku is a platform as a service (PaaS) that enables developers to build, run, and operate applications entirely in the cloud. We will host our application, and it will generate a URL to our deployed app. There is three different ways of deploying on Heroku.
- Using GitHub
- Heroku CLI
- Container Registry
Now in this tutorial, we are gonna push our whole directory to heroku via git, and heroku.yml starts it's work to help heroku by telling how to build and run the application. Don't worry, I am gonna explain everything, but there is little task for you. Go and complete the mentioned prerequisite.
- Create account in Heroku ❇️
- Learn more about Heroku Deployments from Docs
- Install Heroku CLI ❇️
- Using Heroku to Deploy
Now we are all set to host our application front public, open project directory and follow my lead.

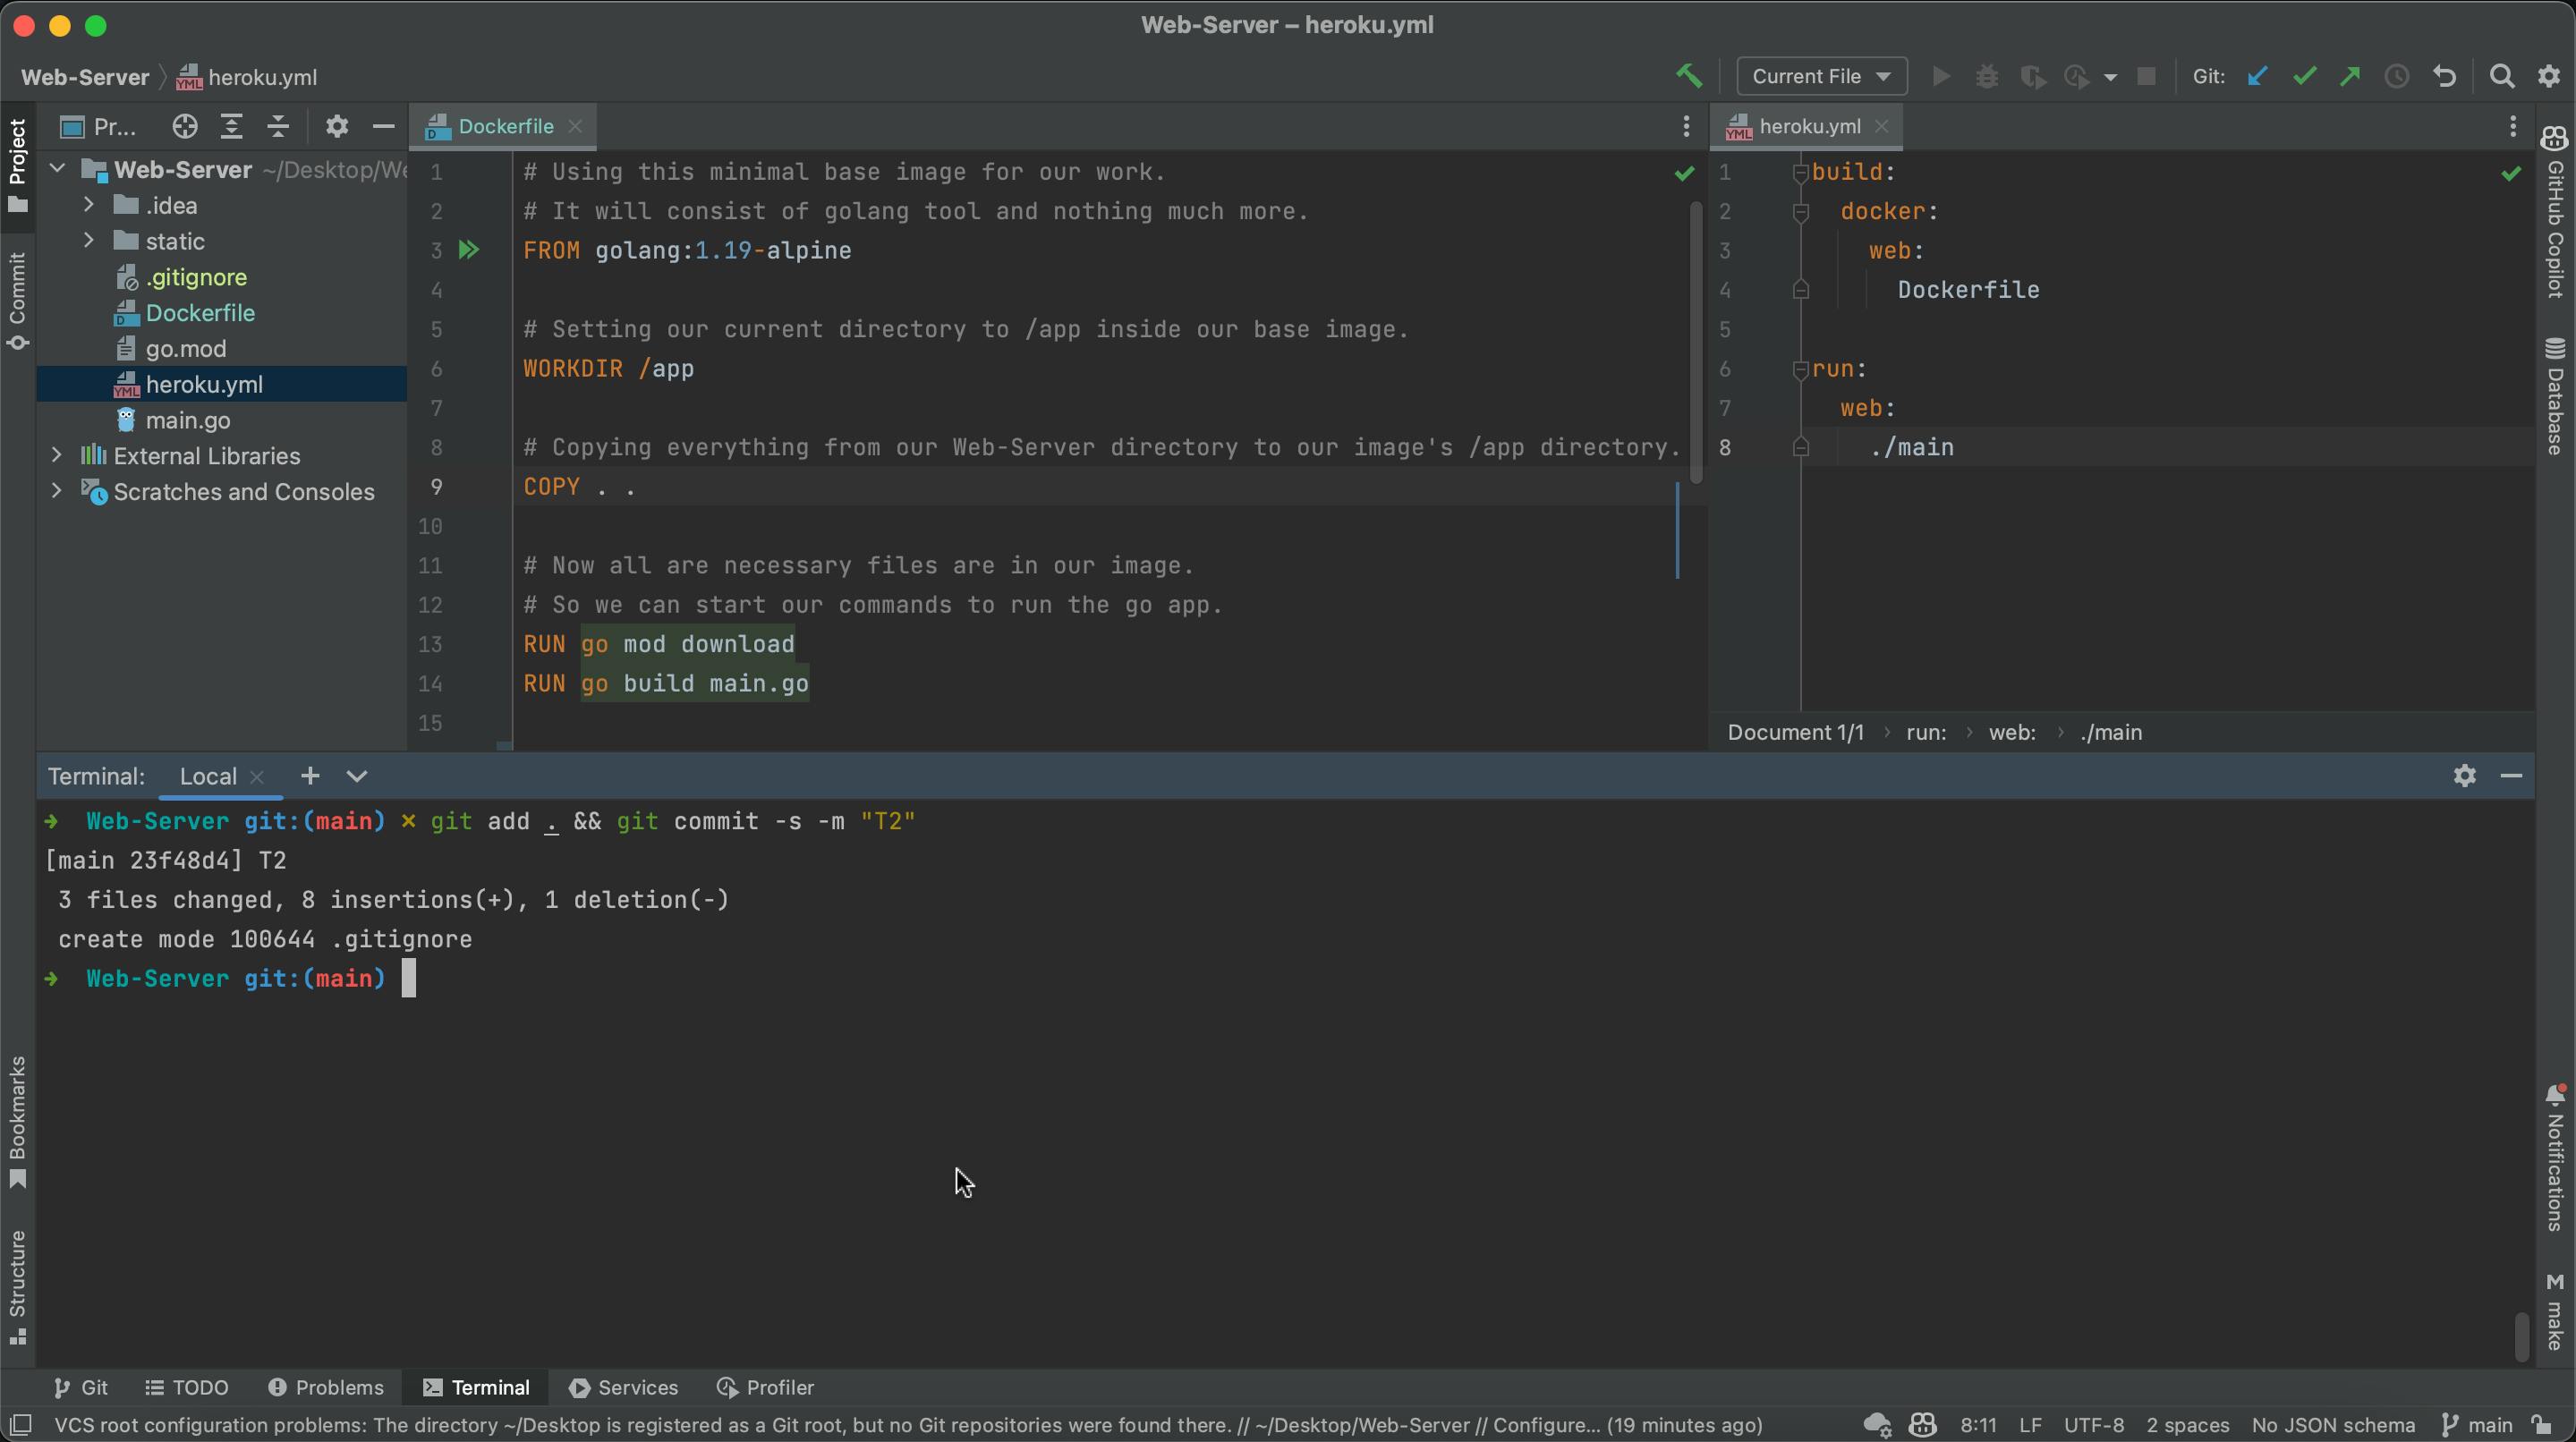
Our Git status is clean and all necessary files are committed safely on Git. Now, let us use heroku cli tool to do the rest of work. But before that, go to your heroku dashboard and create a app with your preferred name.

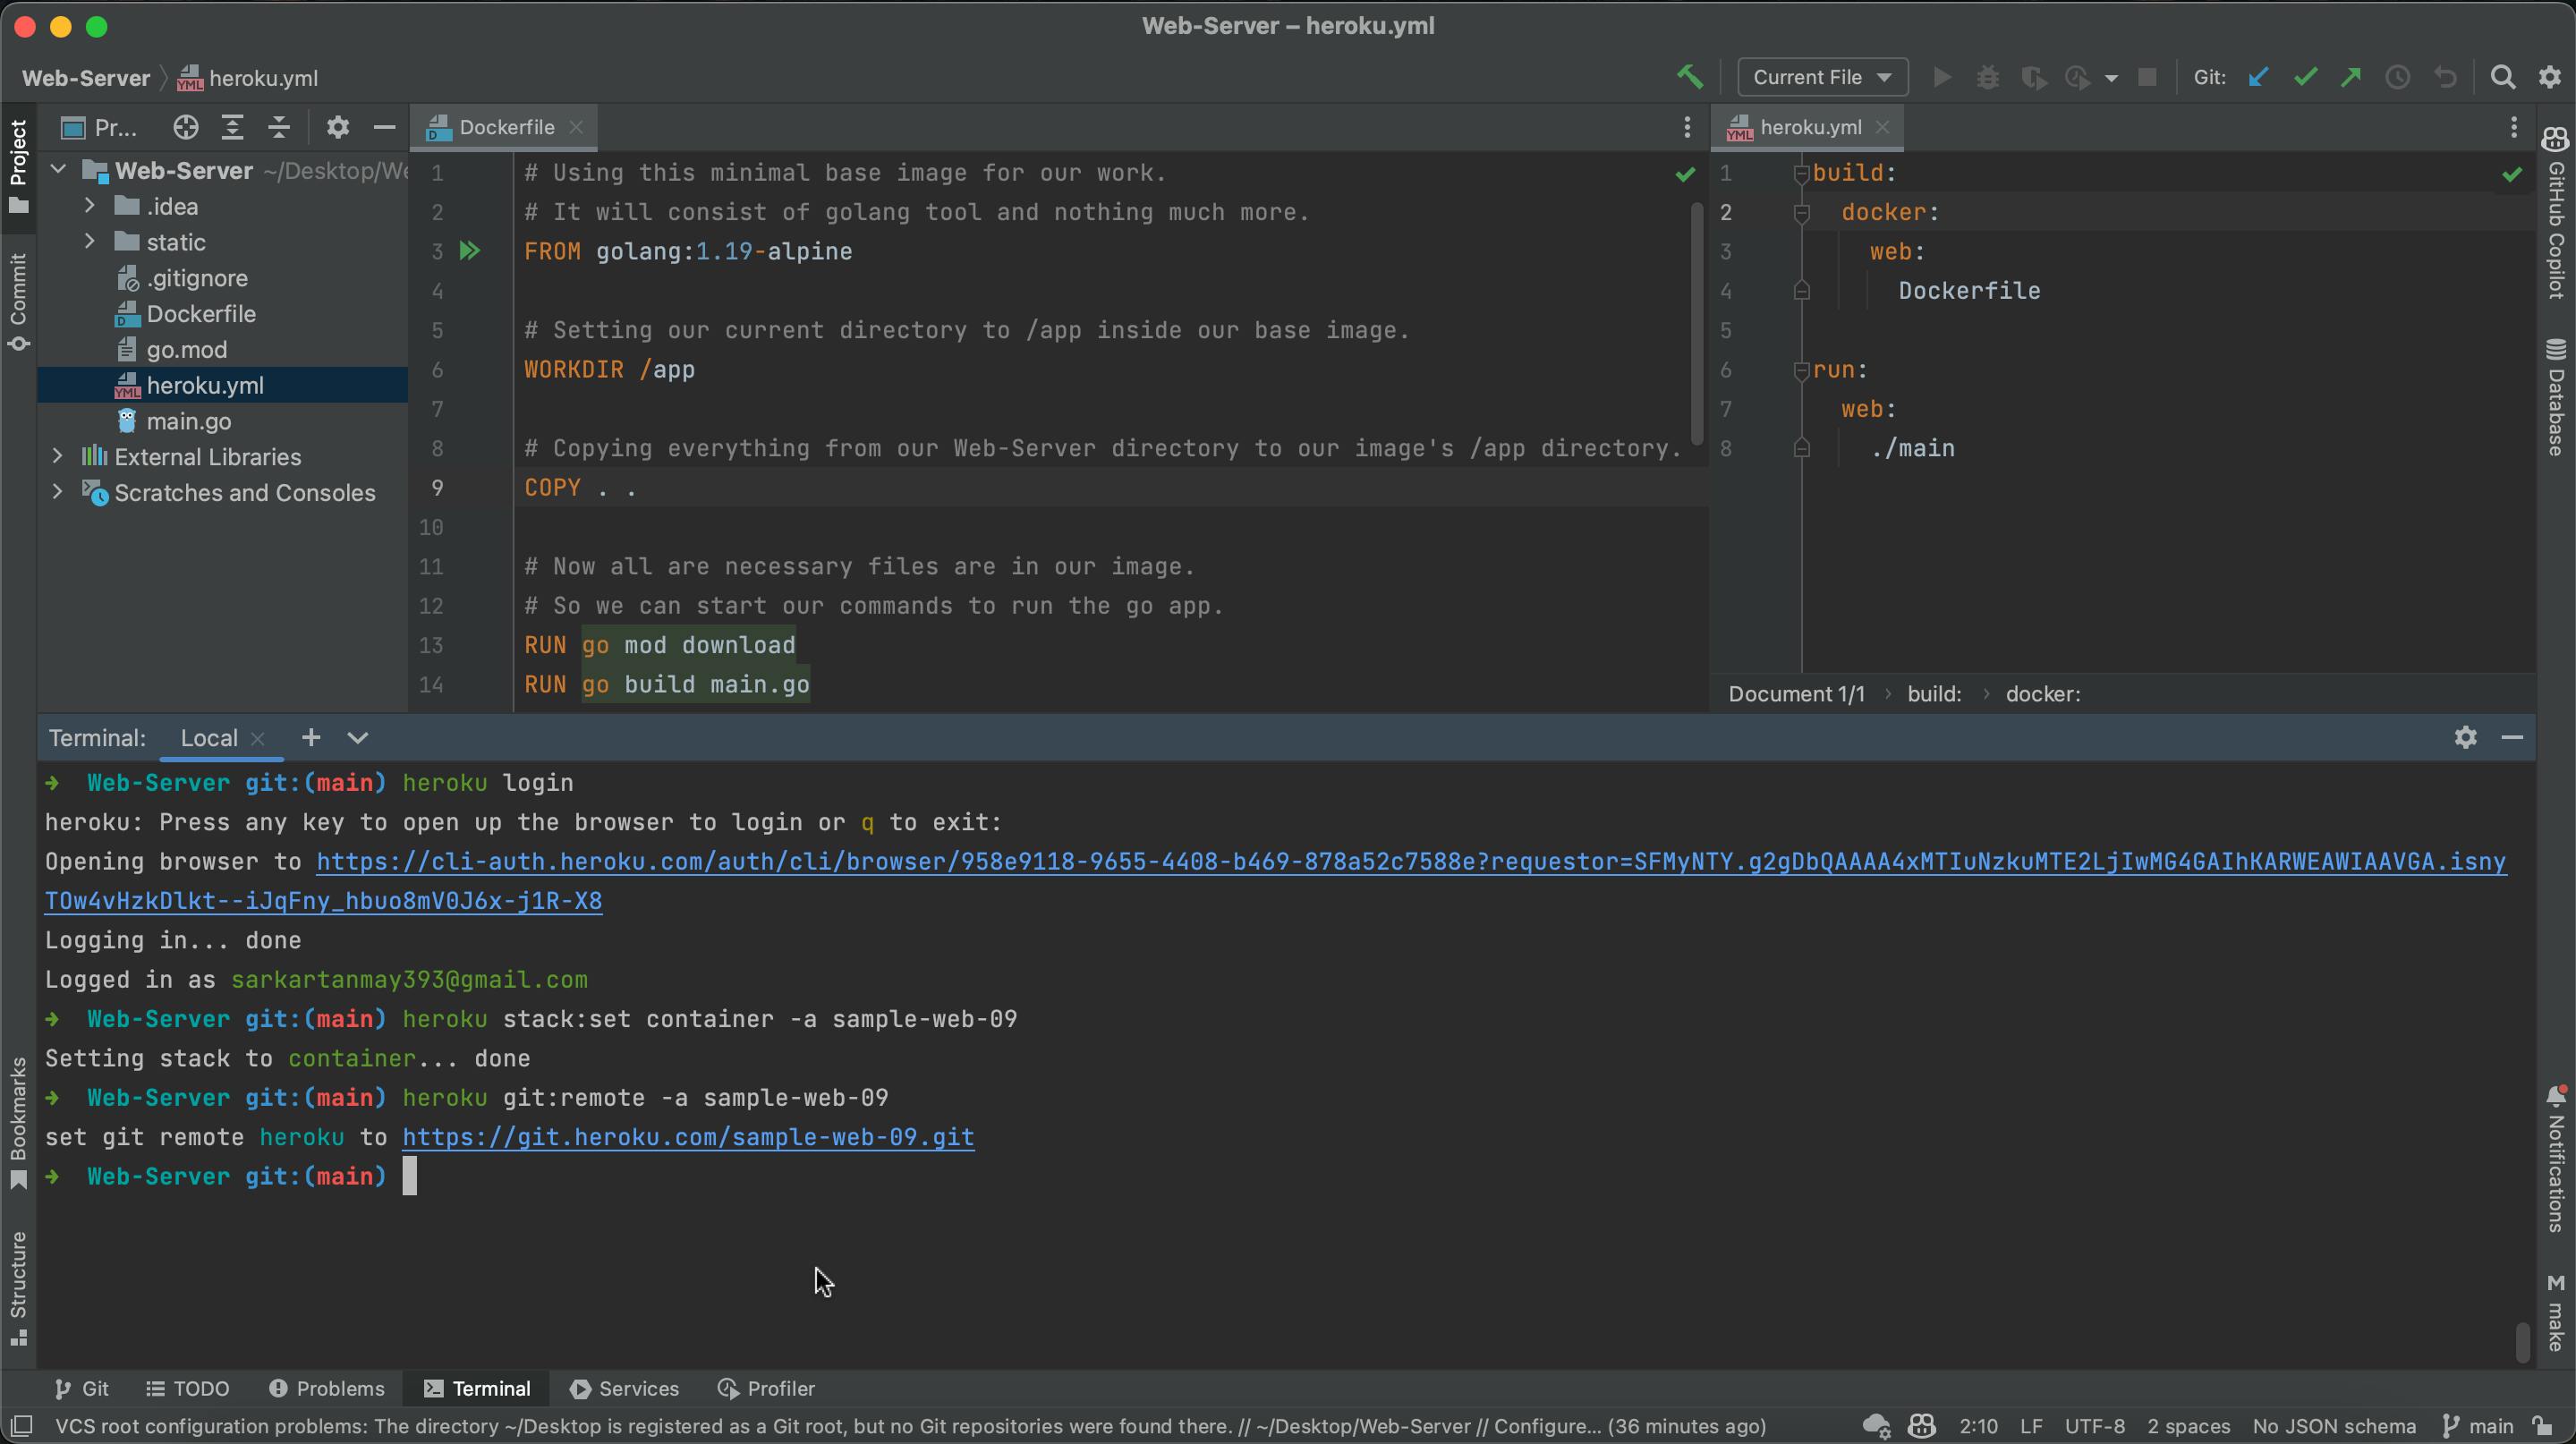
Now, switch to terminal and command,
heroku login
It will take you to a website and demands for login. After successfully login, we have set our heroku app stack to container. Here is how,
heroku stack:set container -a sample-web-09
With -a alias, we specify the app that we have created earlier. Change the sample-web-09 to your app name.
Now we need to add git remote of heroku by,
heroku git:remote -a sample-web-09
This is the final look after these three commands.

And, now the final command, but before this you may have to command git add . and git commit -s -m "last push 101" and then,
git push heroku main

To directly open up your web application link,
heroku open
Checkout the app that I deployed in this blog, here is sample-web-09.
Finishing note 📝
Hope you understood the process of deploying a Go based web server. I always try to explain things in detail, and still if you find any position where I should explain more then tell me in comments or ping me on twitter. I am always there for my article people.
Thanks you everybody for being with me. New blogs on Go and other techinal topics are yet to come out in upcoming days. So stay tuned, and follow me here on @Hashnode.
Follow me on 🐦 @sarkartanmay393
Mail me anytime on 📬 hello@tanmaysarkar.tech
